How Do You Use A Sponge Makeup?
Step 1: Preparation
Choose Your Sponge makeupType: There are different shapes and sizes of sponge makeups. The classic egg shape is versatile, but some come with flat edges for specific uses.

Here are some popular and highly-rated sponge makeups from various brands:
1. Beautyblender Original
- Description: The iconic pink sponge that started it all, designed for a flawless and seamless makeup application.
Features: Latex-free, expands when wet, and provides an airbrushed finish.
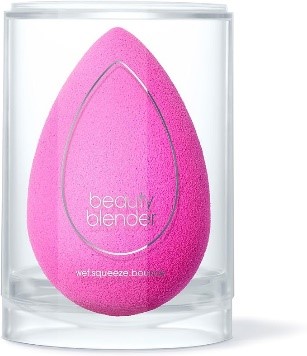
Original Pink Beauty Blender Makeup Sponge, Super-Soft Foam Easily Blends Foundations
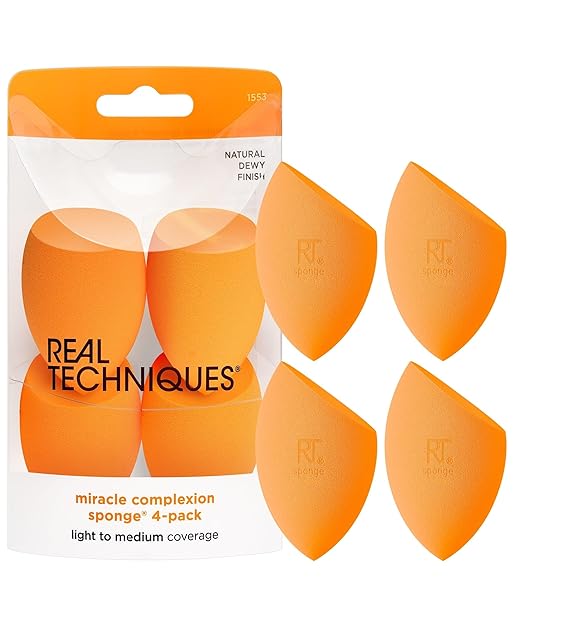
2. Real Techniques Miracle Complexion Sponge
- Description: A versatile, affordable sponge that can be used for blending foundation, concealer, and powder.
- Features: Features a flat edge for contouring and a rounded side for blending.
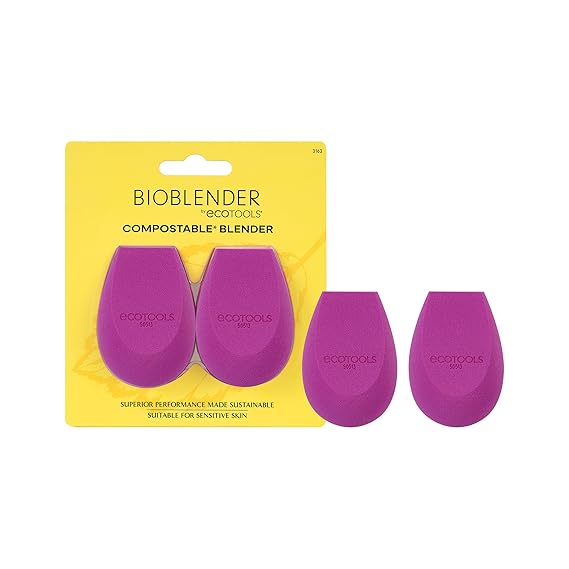
3. EcoTools Perfecting Blender Duo
- Description: An eco-friendly option with two different sponges for various makeup applications.
- Features: Made with 70% plant-based materials, these sponges are soft and durable.
4. JUNO & Co. Microfiber Velvet Sponge
- Description: A unique sponge with a microfiber exterior that provides more coverage with less product.
Features: Can be used dry or wet, and gives a velvety finish.
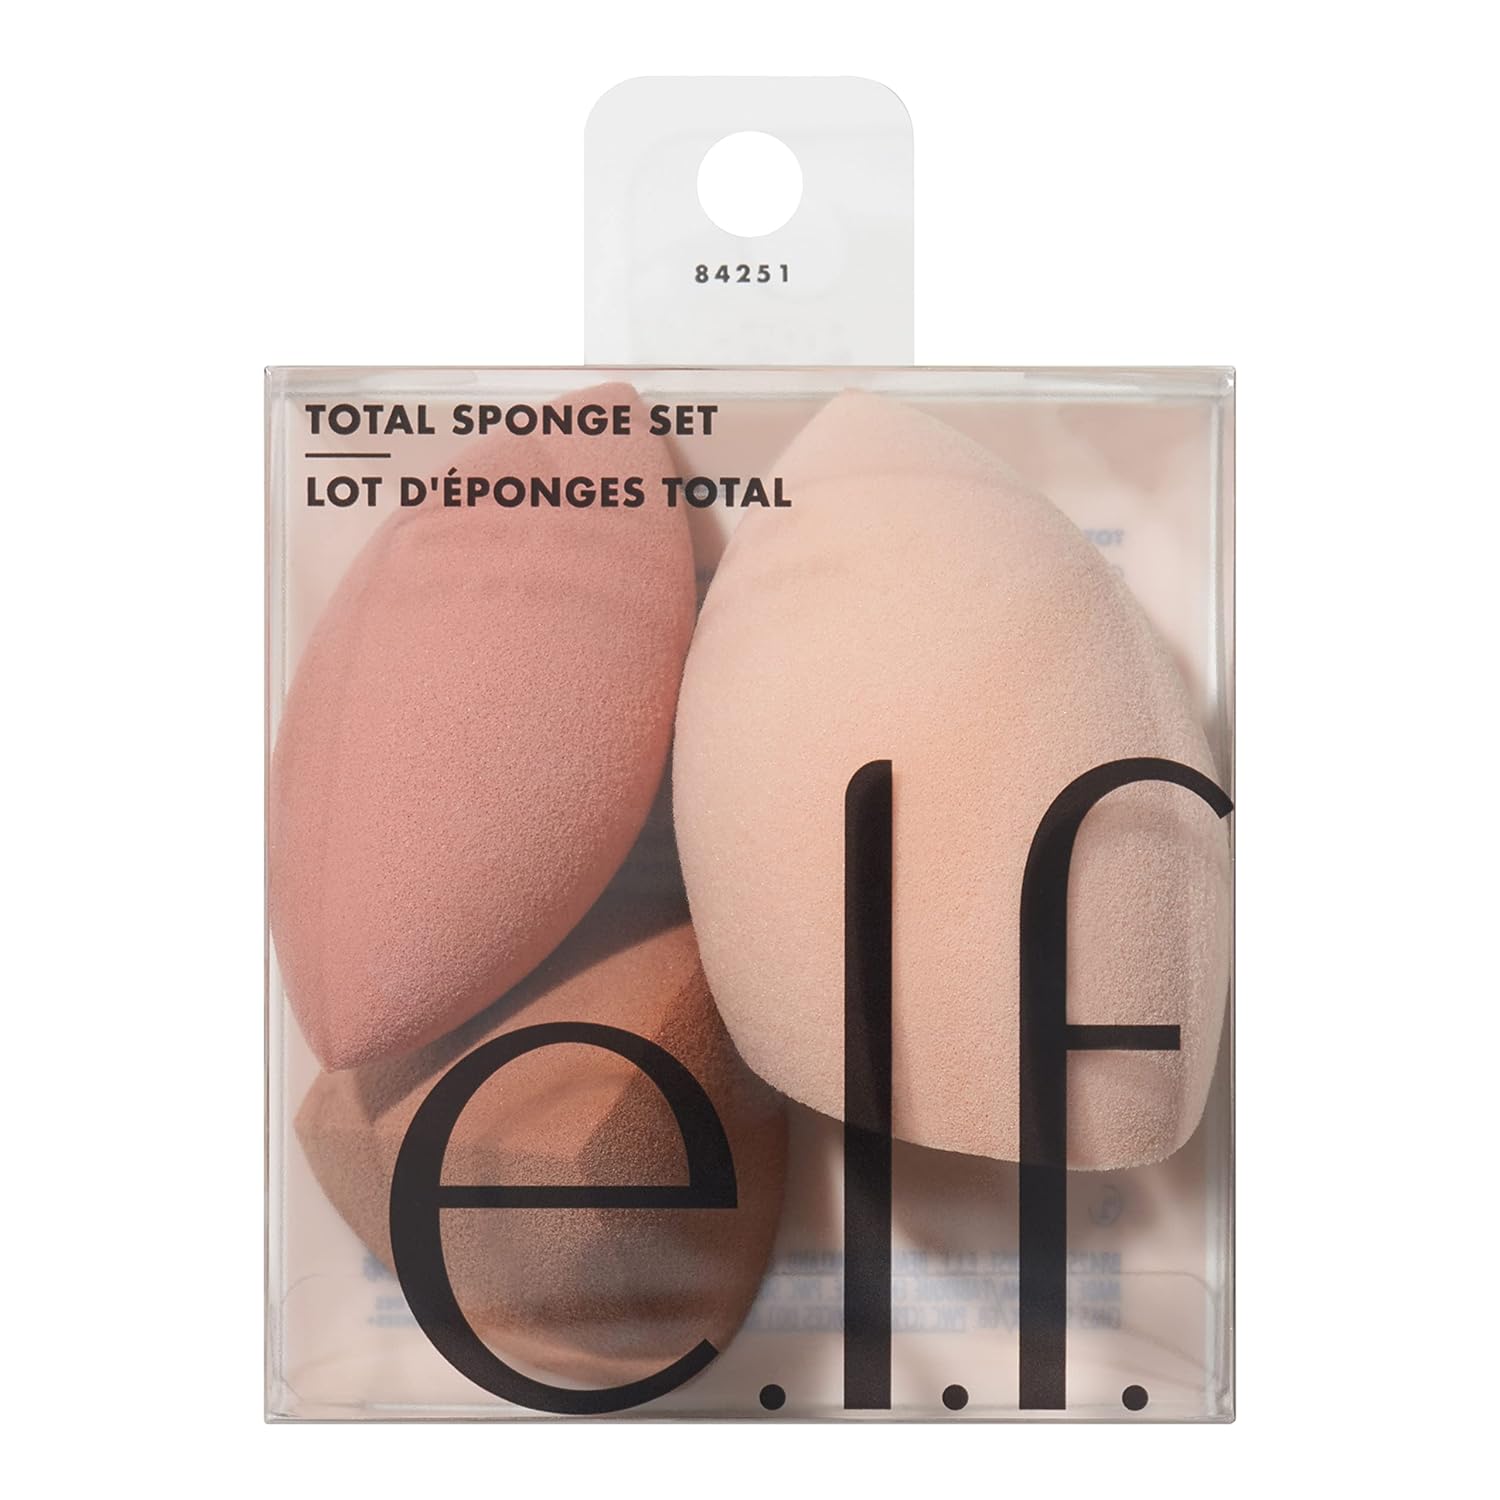
5. e.l.f. Total Face Sponge
- Description: A budget-friendly option that provides great performance for its price.
- Features: Soft, latex-free, and can be used wet or dry.
Each of these sponges has its unique features and benefits, catering to different preferences and makeup application techniques.
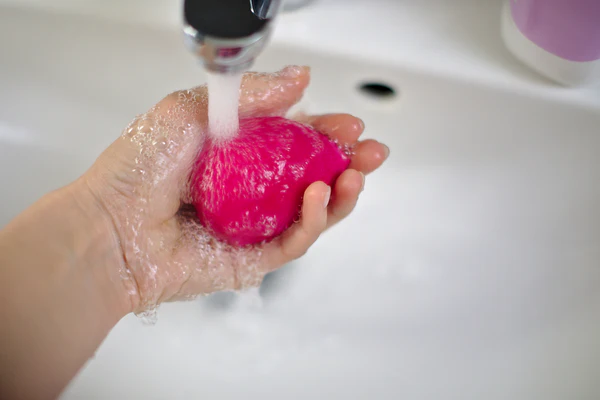
Step 2: Dampen the Sponge makeup
- Wet It: Hold the sponge makeup under running water. Make sure to saturate it thoroughly.
- Squeeze: Gently squeeze it a few times while it’s under the water. This helps it absorb the water and expand.
- Wring Out Excess: Once it has doubled in size and feels soft, take it out and squeeze it again to remove excess water. You want it damp, not dripping.
Step 3: Prepare Your Makeup Products
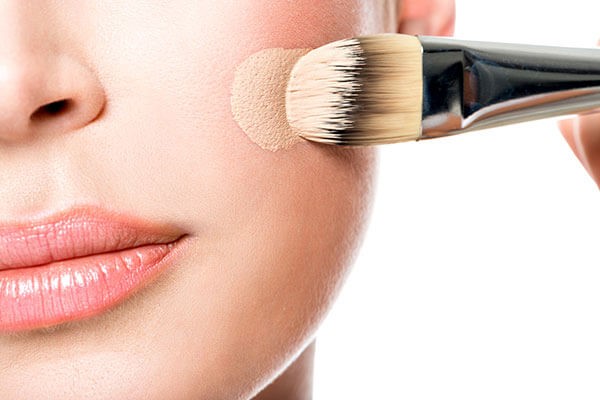
- Choose Your Products: Common products used with a sponge makeup include foundation, concealer, and cream blush.
2.Pump or Dab: If using liquid foundation, pump a small amount onto the back of your hand or a makeup palette. For concealer, you can dot it directly on your skin.
For Foundation
- Pick Up Product: Dip the rounded end of the damp sponge makeup into the foundation. You can also apply the foundation directly to your skin in dots.
- Bounce and Stipple:
- Bouncing Motion: Use the sponge makeup in a bouncing motion (similar to a drum). This helps the product blend seamlessly into your skin.
- Stippling: Focus on areas that need more coverage, gently stippling to build up the product.
- Use the Flat Edge: For larger areas like the cheeks or forehead, you can use the flat side of the sponge makeup for a quicker application.
For Concealer
- Dot Concealer: Apply small dots of concealer where you need coverage, such as under the eyes or on blemishes.
- Blend: Use the tip of the sponge makeup to blend the concealer. The precision tip can help you get into smaller areas.
Step 5: Build Coverage
- If you desire more coverage, allow the first layer to set for a moment, then go back with a little more product and blend again using the same bouncing technique.
Step 6: Finishing Touches
- Setting Powder: If you use powder to set your makeup, use the dry sponge makeup to pick up some powder and press it into areas that tend to crease, like under the eyes or on the T-zone.
- Additional Products: You can also use the sponge makeup for cream blush, bronzer, or highlighter. Just apply the product as described and use the same bouncing motion to blend.
